Domingo Ram Gray Saya
Project Specs:
Fashion Fabric: Olive Gray Plain Weave Wool Flannel, RenaissanceFabrics.net, 100% Wool, 3.5 yards
Lining Fabric: Blue Heaven Middle Weight Softened Linen, Fabrics-Store.com, 100% Linen, 3.5 yards
First event attended: who even knows anymore... most likely Virtual Colegio de Iberia 2021
The final product and my brand new deck!
After making a LOT of body garments, I decided to take a break and make another saya. My thought process here is that the black kirtle is going to be retired/cannibalized soon, so I should prepare another foundational garment beforehand. This time, unlike the tan saya that was created with a lot of composite examples, I wanted to recreate a specific garment. I also wanted something that was a cooler tone than the tan saya, just for the sake of versatility.
One painting I'd seen several times before is The Birth of Saint John the Baptist by Domingo Ram (source).
The source material
Off to the right is a midwife or servant with a bright red underskirt (faldrilla) and a gray saya with an awesome bright blue lining. I think the bright colors in this outfit are incredibly fun, so I decided that this would be the item I attempted next.
There are a few interesting features to this garment.
First, the bright blue lining evidently carries up through the bodice, and not just the skirt, as a matching thin trim of that color can be seen at the neck. I've never seen anything quite like that and decided the easiest/lowest effort way of recreating this effect is to just fully line the saya with the appropriate color linen. This seems like a simpler plan than cutting a separate lining color and creating fabric tape out of the skirt lining linen. It's highly possible that this was instead achieved with scrap fabric from the skirt lining made into fabric tape, and I will likely try that on another garment to compare the two methods later.
Second, when this image is blown up, there are two small slits on the backs of the armscyes on this dress (see picture above and to the right). Those slits are far too symmetrical to be accidental, and you can see the color of her camisa through them. I'm not 100% sure of their purpose- I expect it's something to do with flexibility or movement, but either way, I'm a little fascinated and figured the only way to suss it out was to give it a shot. I'm sort of hoping this piece becomes helpful on the archery range.
The last interesting bit, and I found this a little bit of a challenge, is that given the angle of the figure, the neckline of this saya is not visible. After consulting and consideration, I decided to model the neckline off of other figures in the same painting. The other three visible necklines are all squared off, but instead of descending perpendicular from the shoulder to the base of the neckline, they all slope inwards in varying degrees. The painting also seems to indicate a slightly higher neckline than the images I used for the tan saya.
Having Evan around for fabric shopping is always incredibly helpful to me. He was able to point out that instead of being just gray, the gray color used in this painting is a warmer gray, which offsets the cool tone of the blue lining. After doing some shopping and comparing options, we settled on the Olive Gray Wool from Renaissance Fabrics. This wool fulled a little more during pre-shrinking than I expected it was going to. I think it's still a decent weight, and it'll fit well with the more middle-ish class I'm going for once it's been ironed out a bit.
Pleating the Comedy of Errors Gown.
One detail that's taken more thought than I expected was how exactly to do the skirt. I've done skirts a few ways in the past. The black kirtle has a skirt made of two panels. The tan saya has a skirt made of six panels. Given that this is supposed to be more working class, and that broadcloth would have likely been more expensive, I decided to do the skirt in panels. There are no visible seam lines on the skirt in the painting, but logically, this woman may not have had the access to cloth big enough to do a skirt of that fullness in few large pieces, but likely would have been able to piece it together from smaller ones.
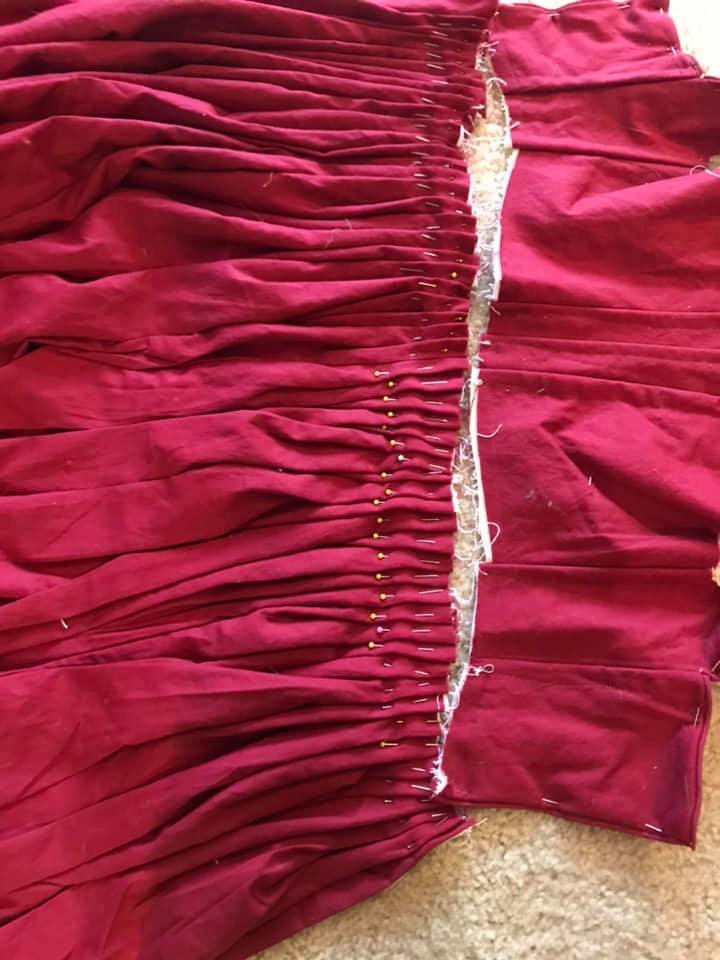
The next question is the pleats/gathers and how to best do those. Both the black kirtle and tan saya were gathered into the waistline using a basting stitch to pull in the gathers. The Comedy of Errors gown was actually pleated with accordion pleats (not well might I add), as was the Blue gown. I'm very obviously not an expert on pleating, but given the fullness and shape in the painting, my best guess after spending a lot of time reading and looking at pictures is that these are rolled pleats. Which I have never done before. So that's fun.
I took some extra time with the fitting and blocking of the bodice. I made a muslin out of my interlining fabric based on previous garments and then adjusted it to make a few small changes. First, I wanted to raise the waistline. I found that while the waist on the tan saya hit my natural waist almost exactly, but that's not what was the most period choice (or at least that's what I have been led to believe). This new waistline hits me about an inch above my natural waist. Then, I refitted the side seam to better fit the garments that I'll be wearing underneath it. I then cut the slits for placement. Once I was satisfied with the fit, I used the interlining to create blocks for the lining and fashion fabric. I added 1/2" seam allowances except for on the neckline, where I added 3/4" to account for the "trim".
It was then time to assemble the skirt. I sewed the two layers of the skirt together, leaving a short gap at each opening edge to whip stitch the layers together where I plan to lace it. The best/easiest tutorial for the actual pleats I found was this one. The pictures made it very clear how I needed to do the pleating. I decided that the best bet was to roll all the pleats in the same direction for this gown (unlike the Comedy of Errors above). The dress form was super helpful for this process and despite a little unevenness, I'm very happy with the results!
Once the skirt was pleated, I whip-stitched the edges of the opening that I plan to lace and left it to hang overnight to settle out. On preliminary try ons, the waist hits really well where I wanted it, and the drape of the skirt is lovely despite the unevenness of the pleats on the sides.
The next challenge was getting the bodice assembled. My big concern was both making sure the bottom edge of the interlining/top edge of the pleats were adequately covered, while still maintaining the "trim" at the top edge. It turns out I had over anticipated this being an issue and the seam allowances at the neckline and armscyes were a bit too large and don't lay properly on the back. More on that later.
First, I secured the neckline in place on the gray fabric and pinned the rest of the layer where it should go. Then, I also stitched the blue neckline down about 1/2" over the gray to both create the trim and to stabilize the alignment of the three layers. I tried two methods for the corners on the front. The first, I just tucked everything because that was easier (the right-hand corner pictured to the left) and the second I clipped the corner a little at the outer edge and folded things over (the left-hand corner pictured to the left). I was much happier with the second result, so I unpinned the first corner and ultimately did that on both corners.
Once the neckline was stable, I whip-stitched the armscyes and the back slits together. I realized during this process that I had gone about doing those slits entirely wrong. I really should have waited to cut them until all the layers were assembled.
The slits ended up misaligned, enough so that it caused creasing in the back when laying flat. I was able to largely solve this problem by tacking down certain tension points, but it's still definitely evident that something had to happen there. All in all, these were WAY too much trouble to not serve a purpose and I will eventually figure out what that purpose is. Thankfully, in the final piece it's largely hidden when I wear my hair down, and from far enough away, I'd call it acceptable. I took pictures before ironing it, and it desperately needs it. The next time I even consider doing these slits, I'll basically fully assemble the bodice before cutting them. They ended up very uneven in size and angles. Not at all what I wanted from them. But, if I really hate them, I could fairly easily patch them up and forget they even existed. I have not ruled this out yet.
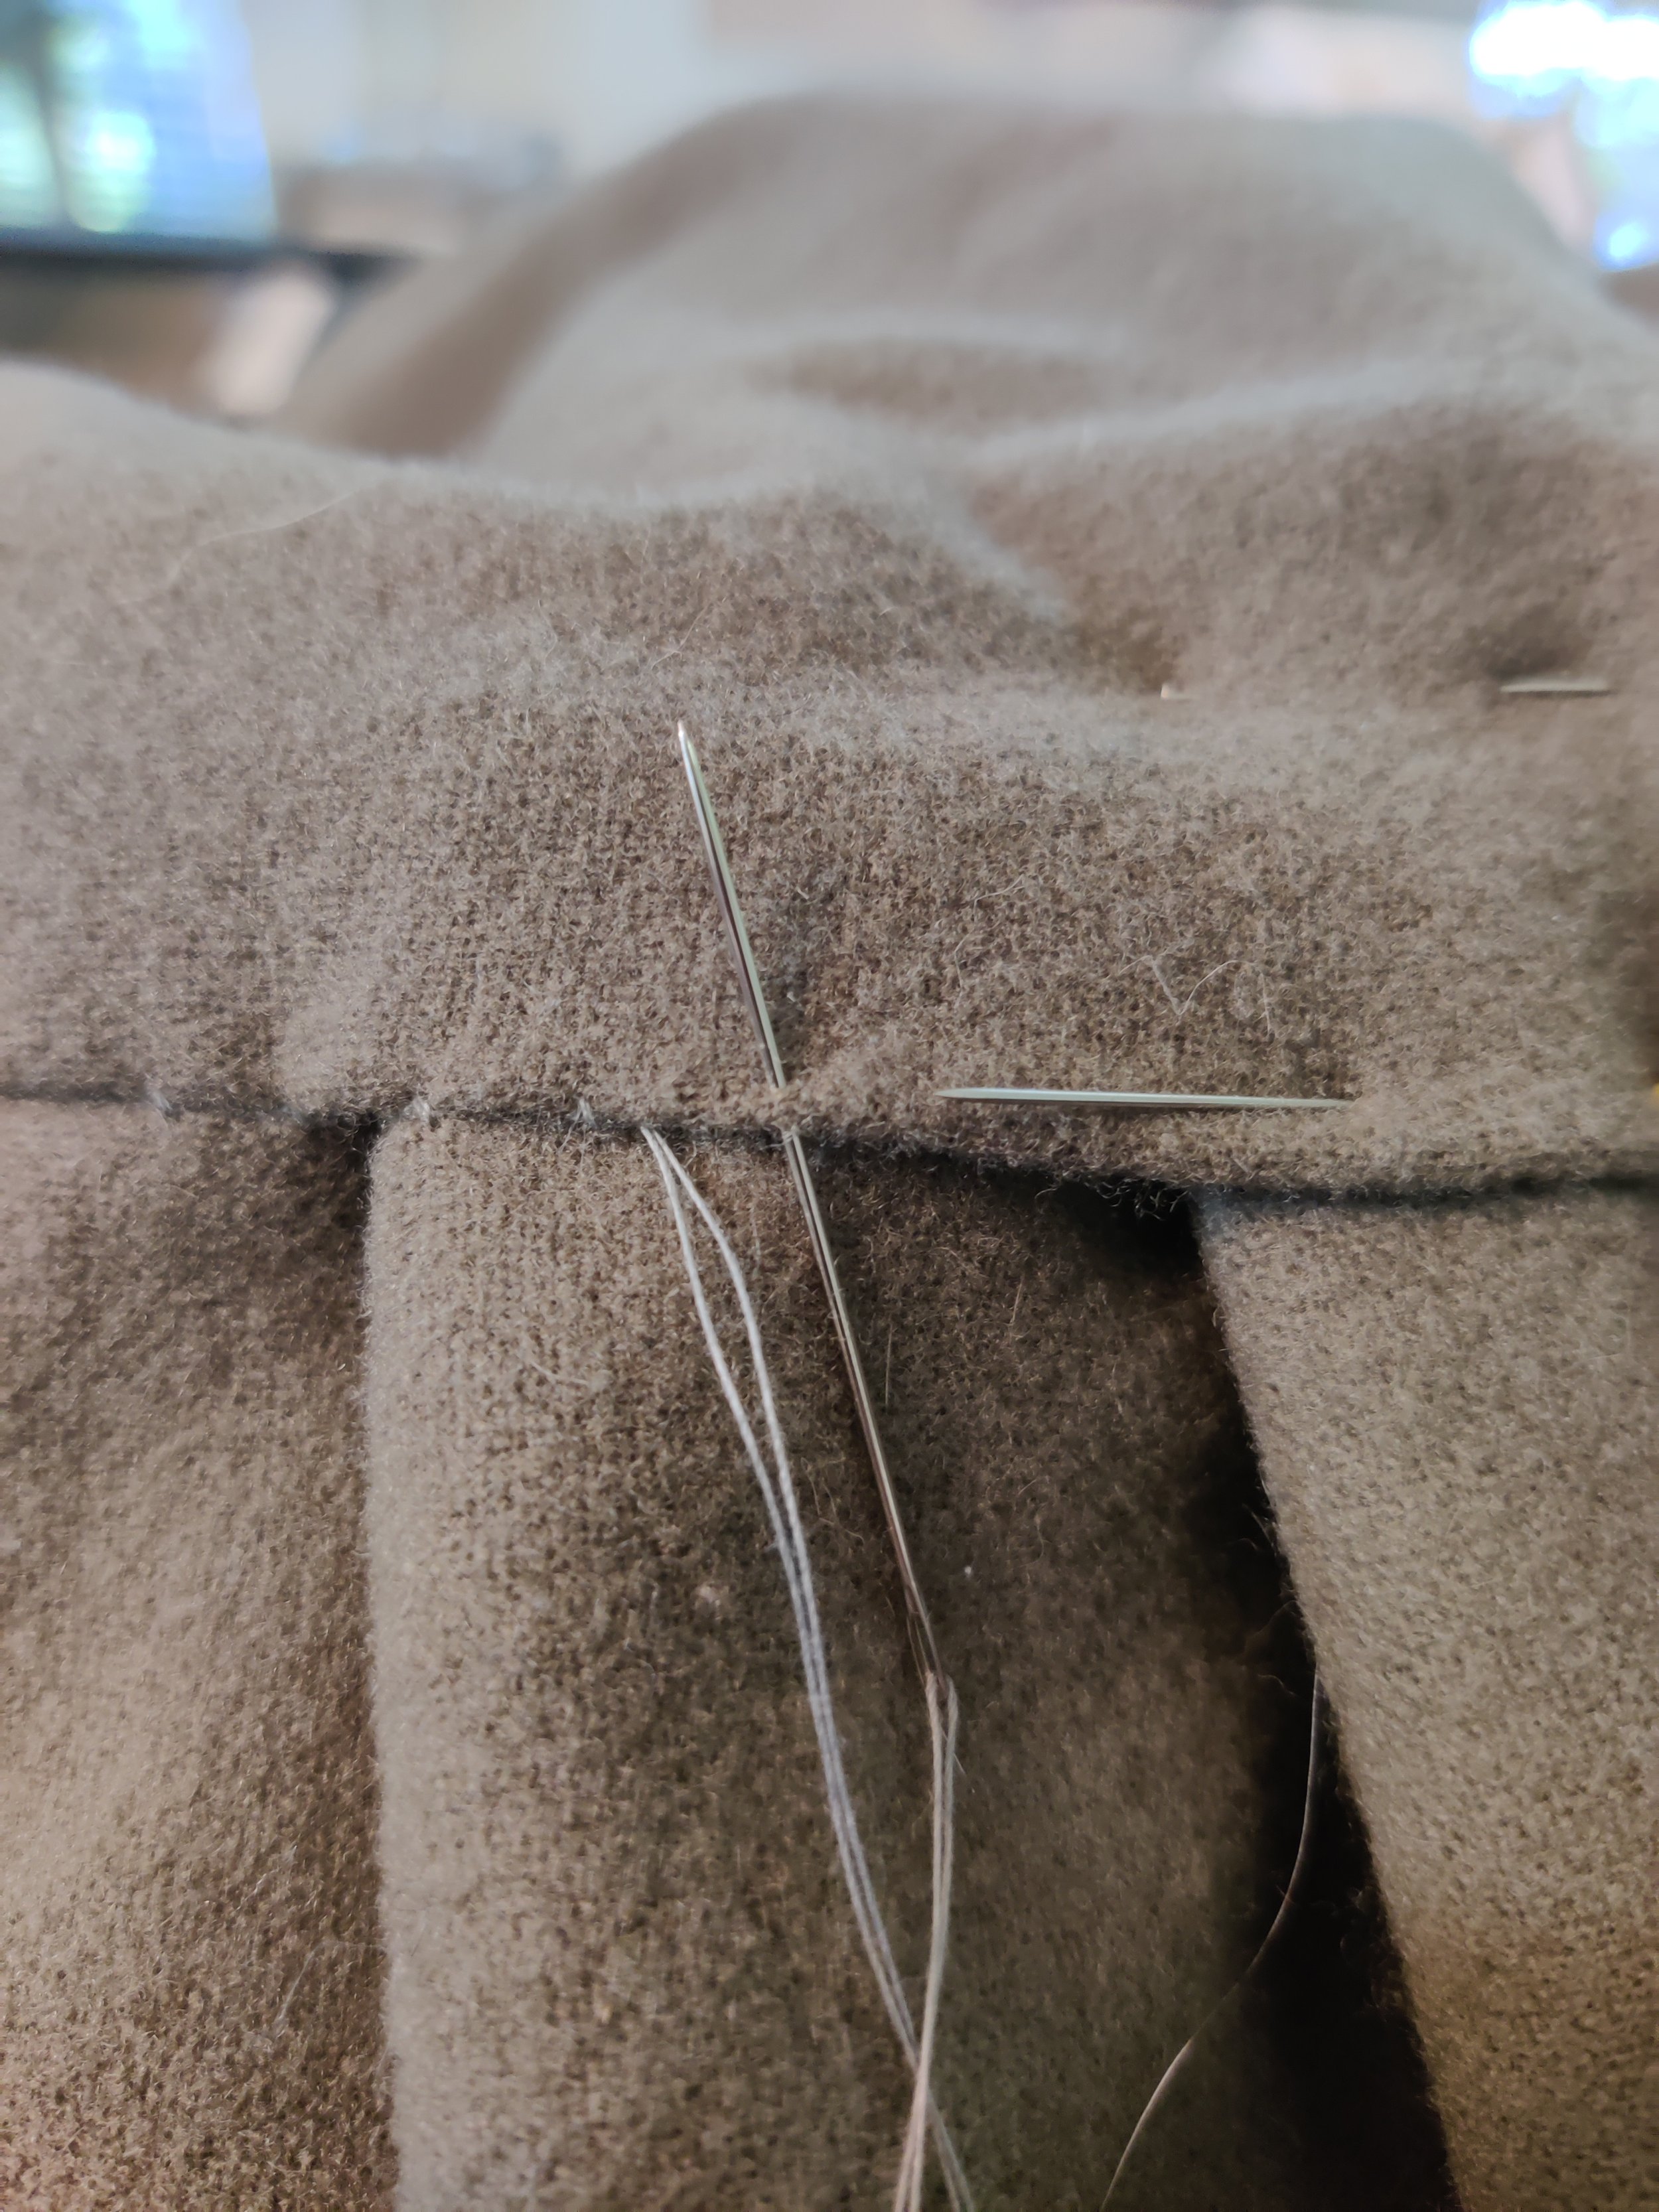
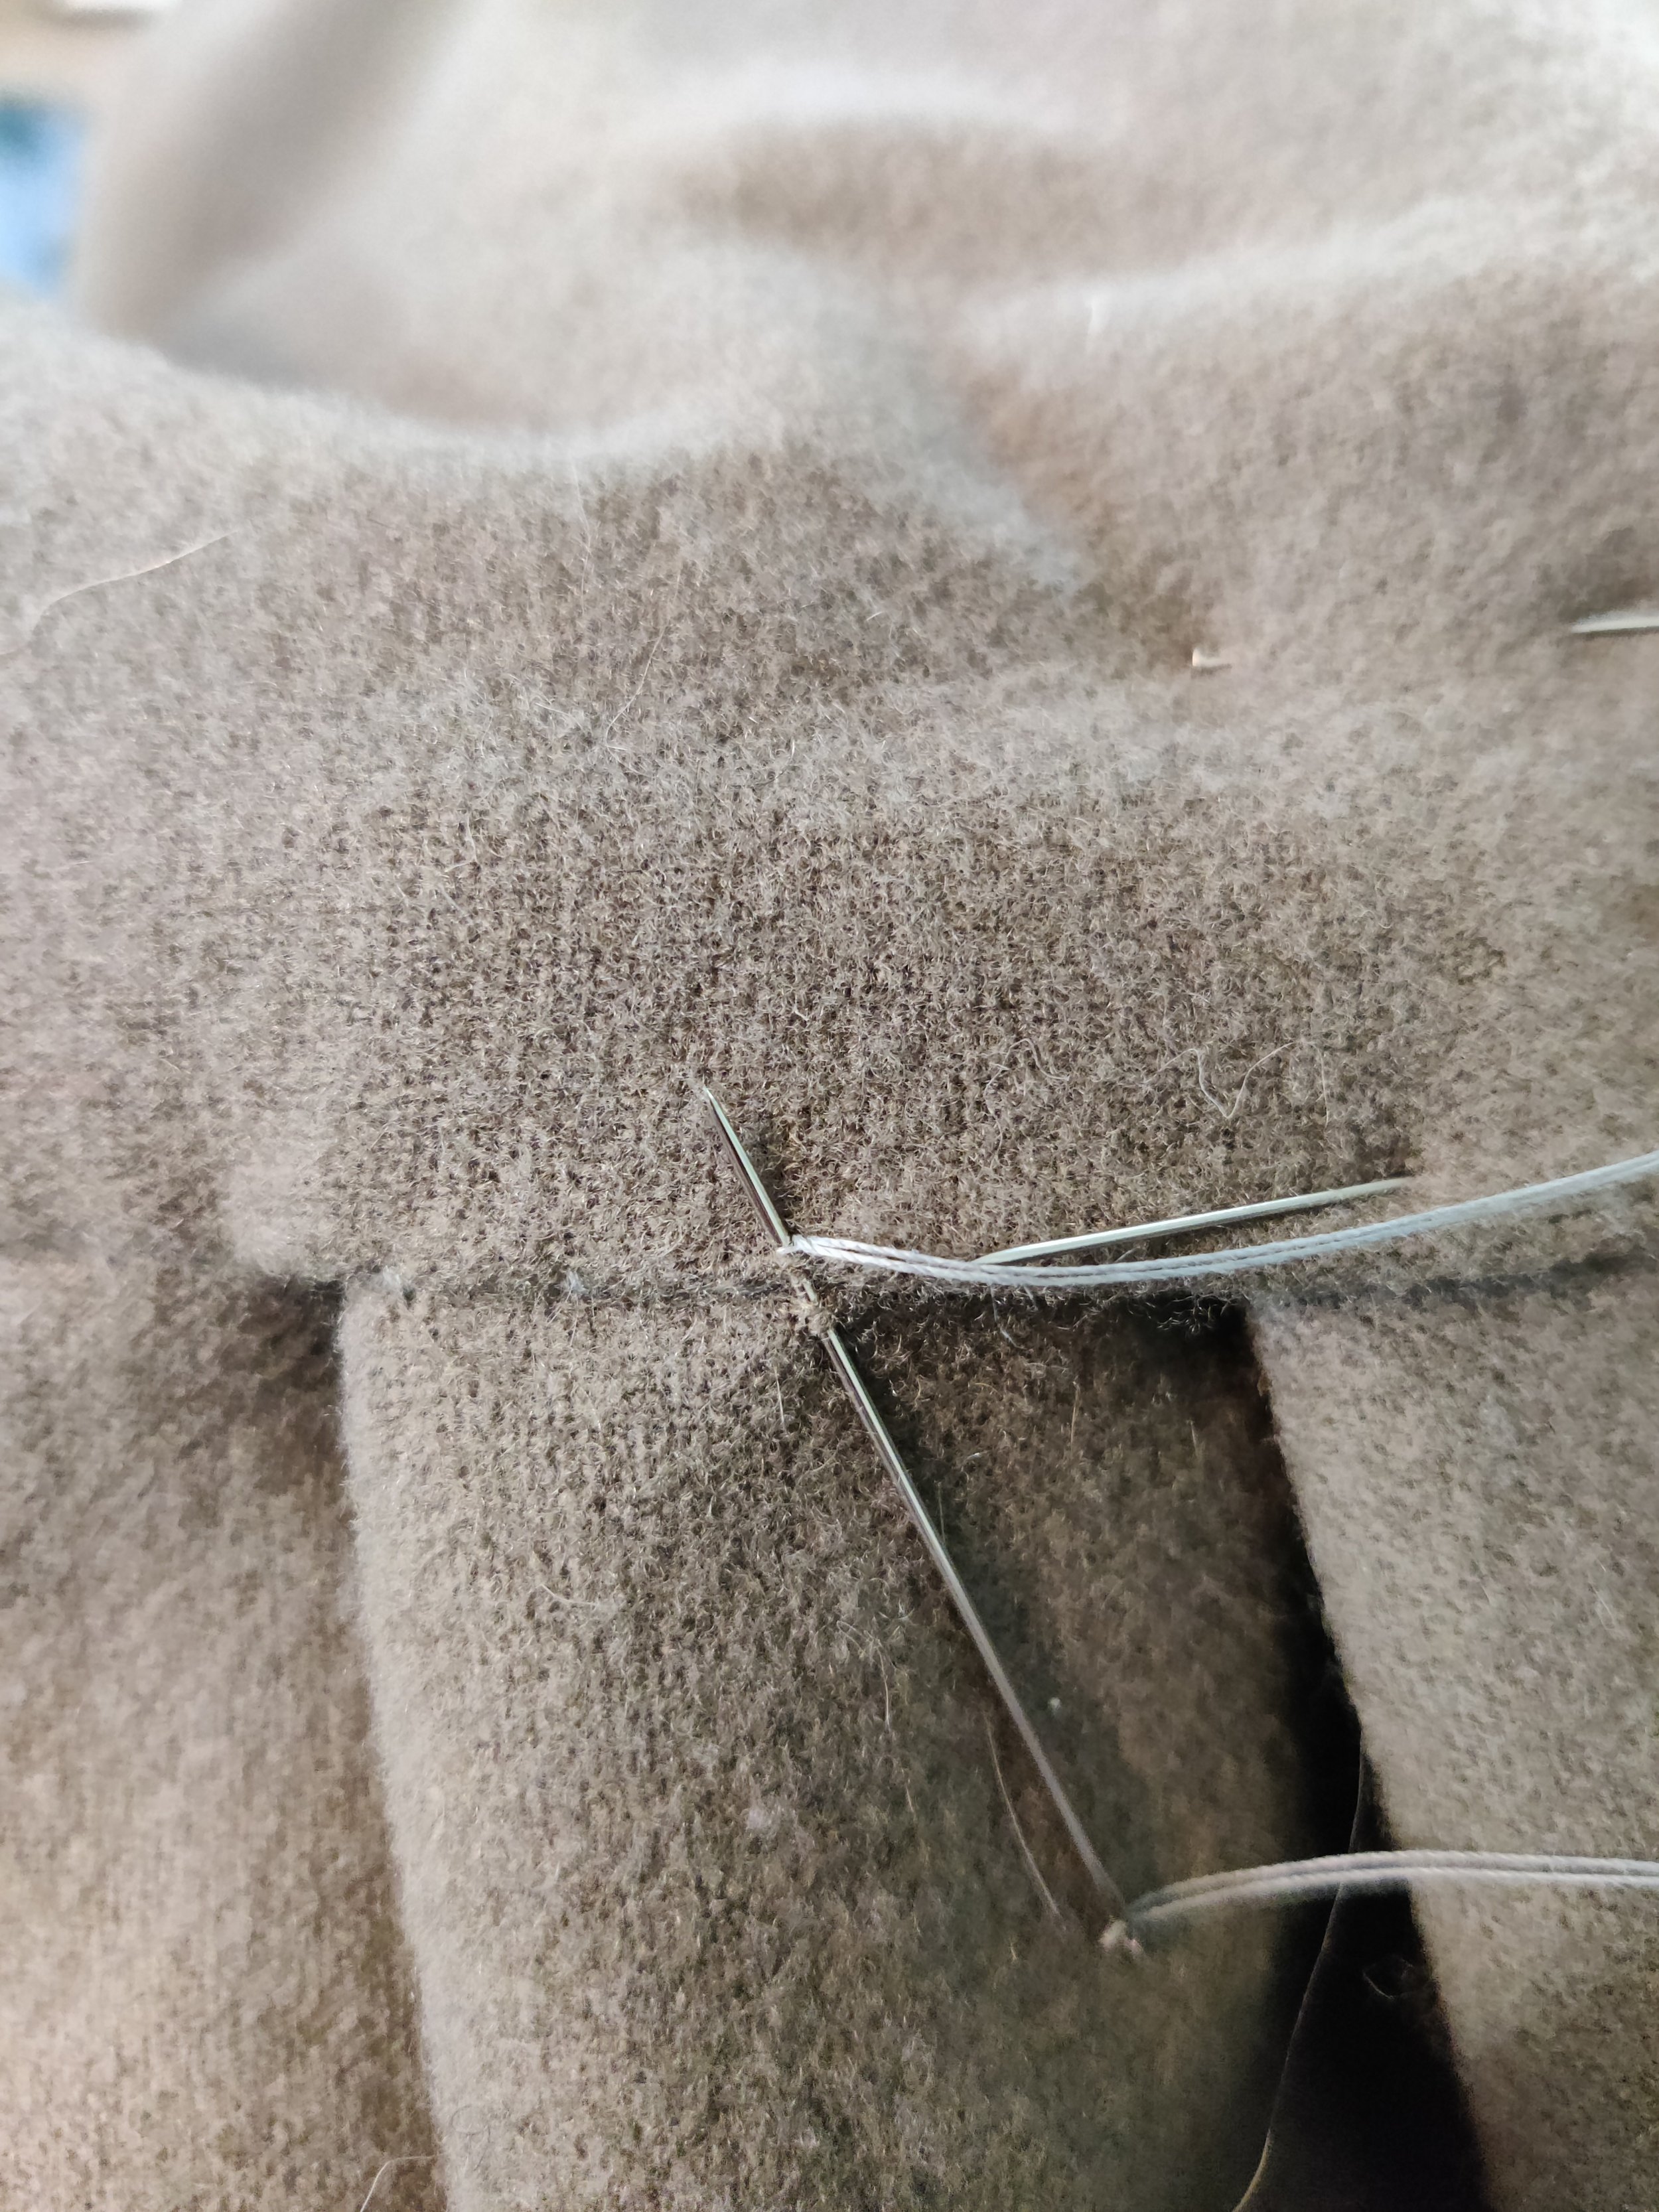
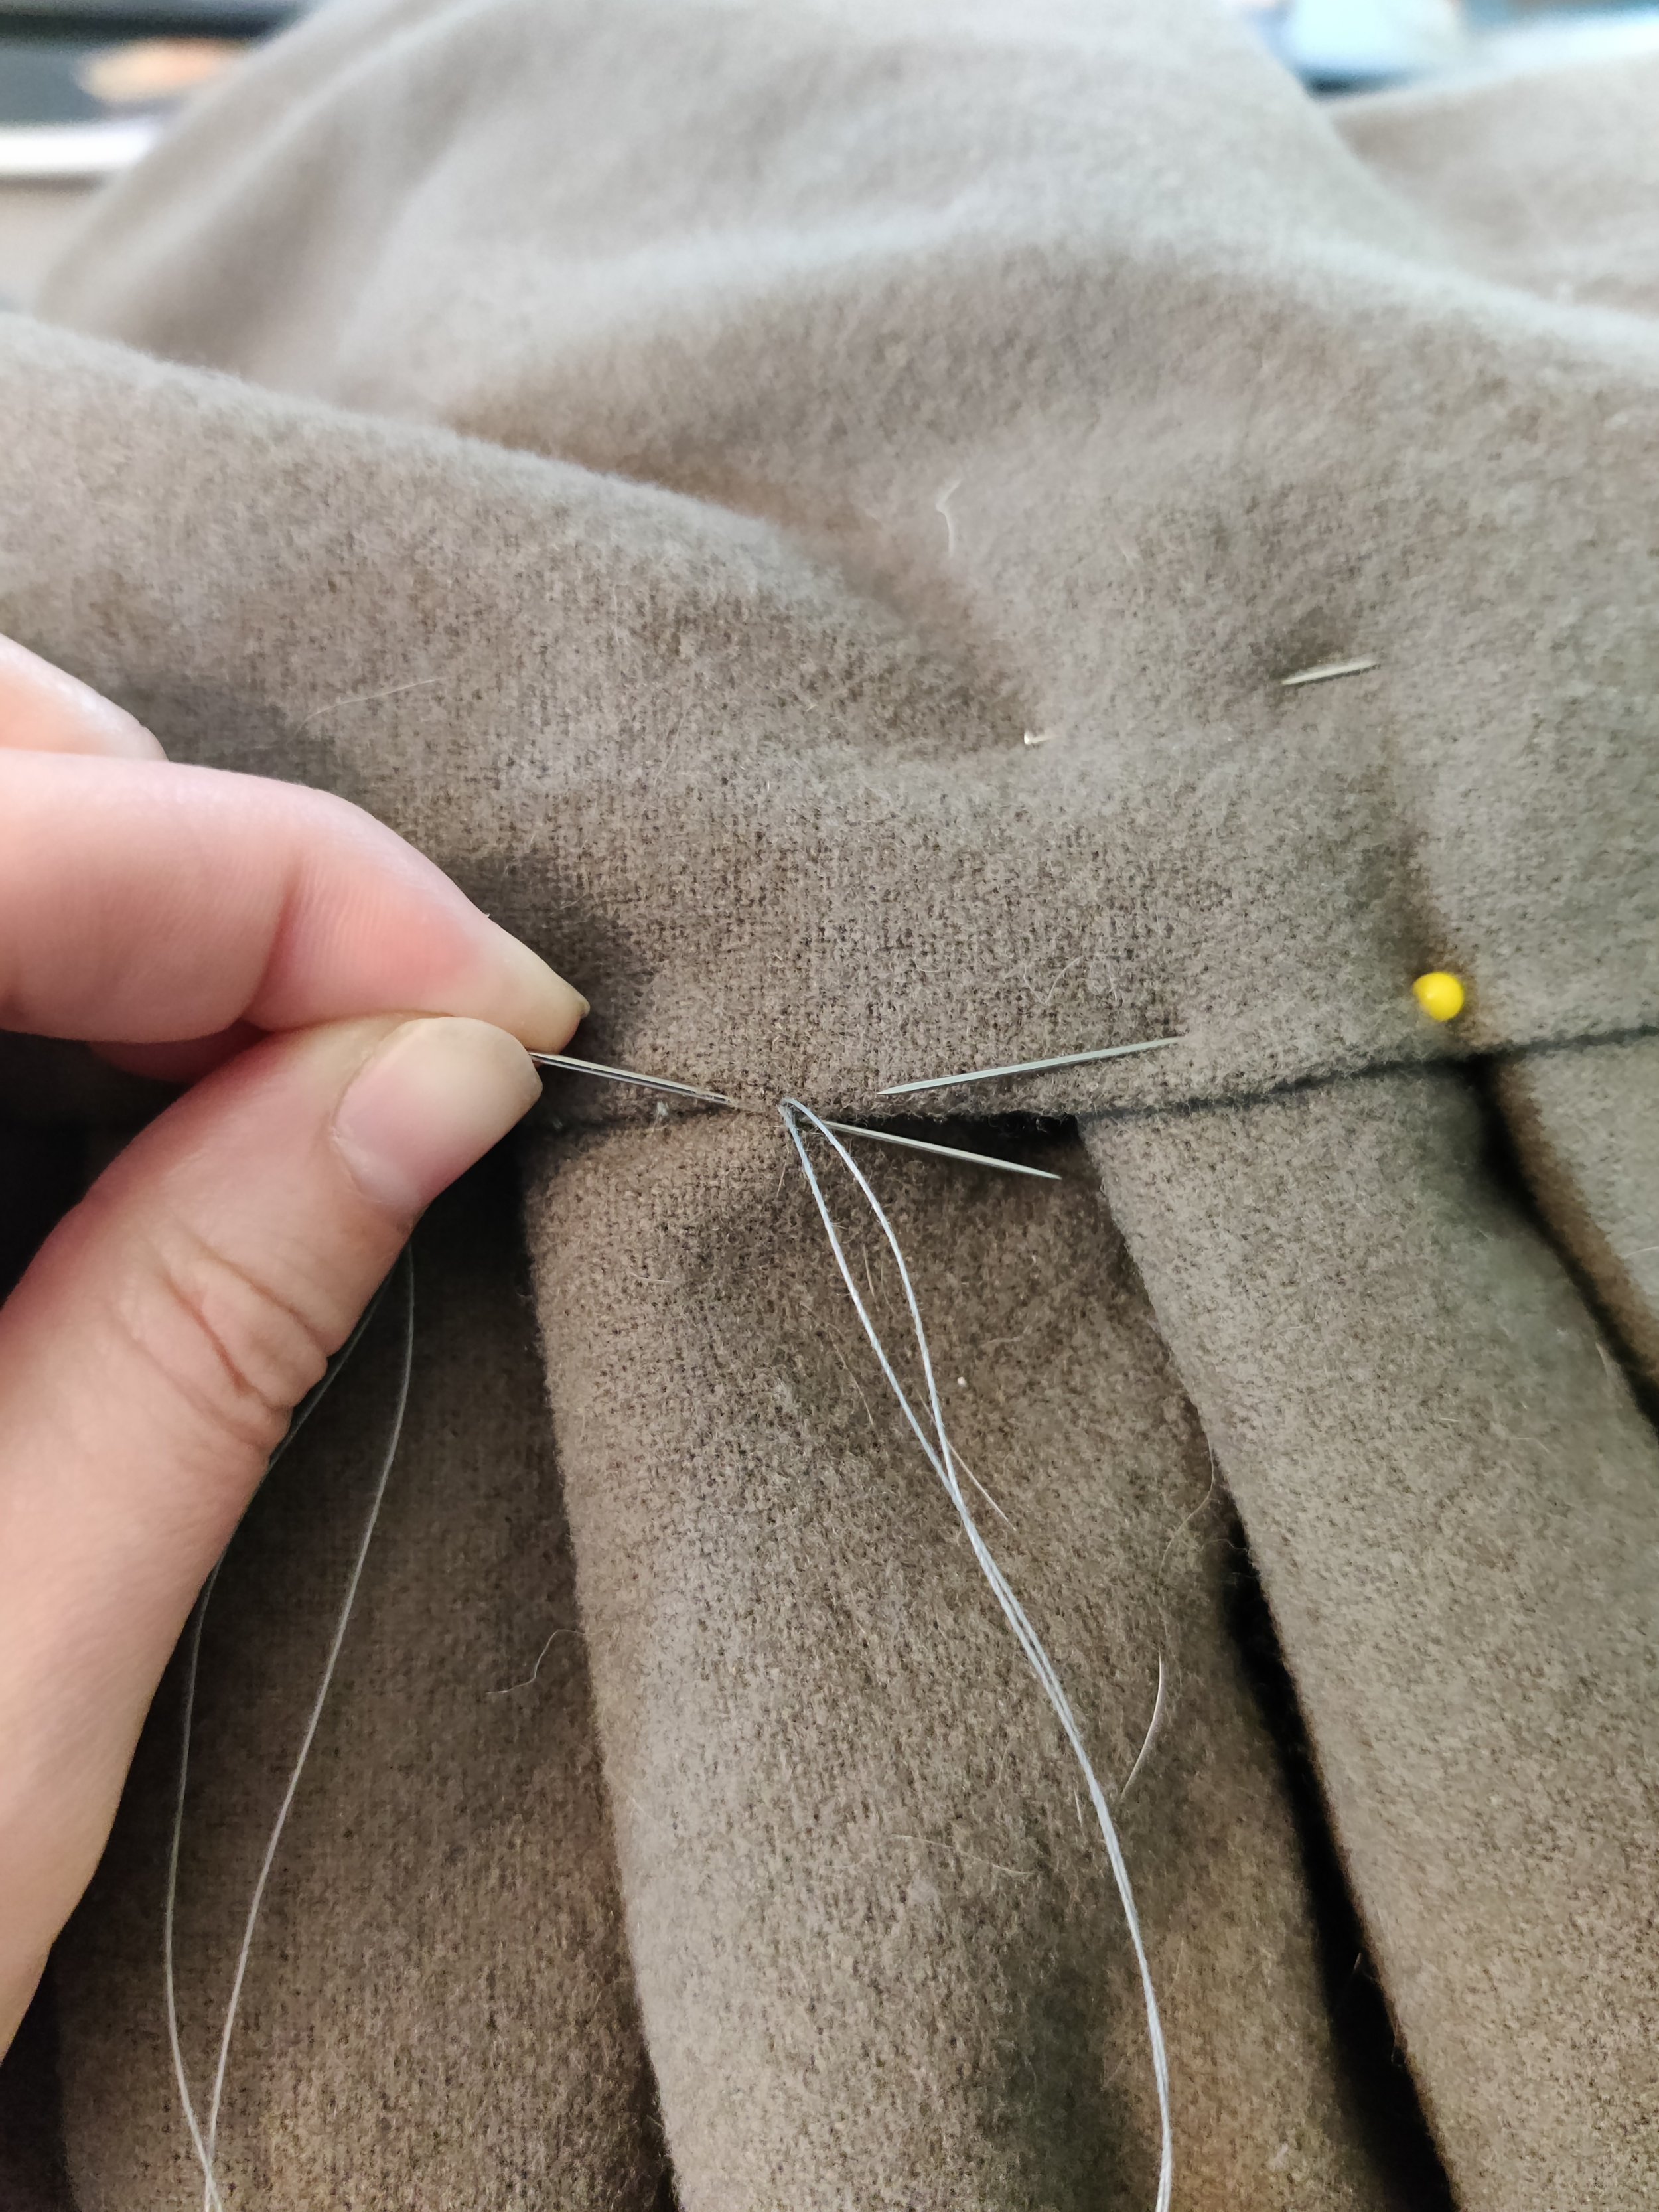
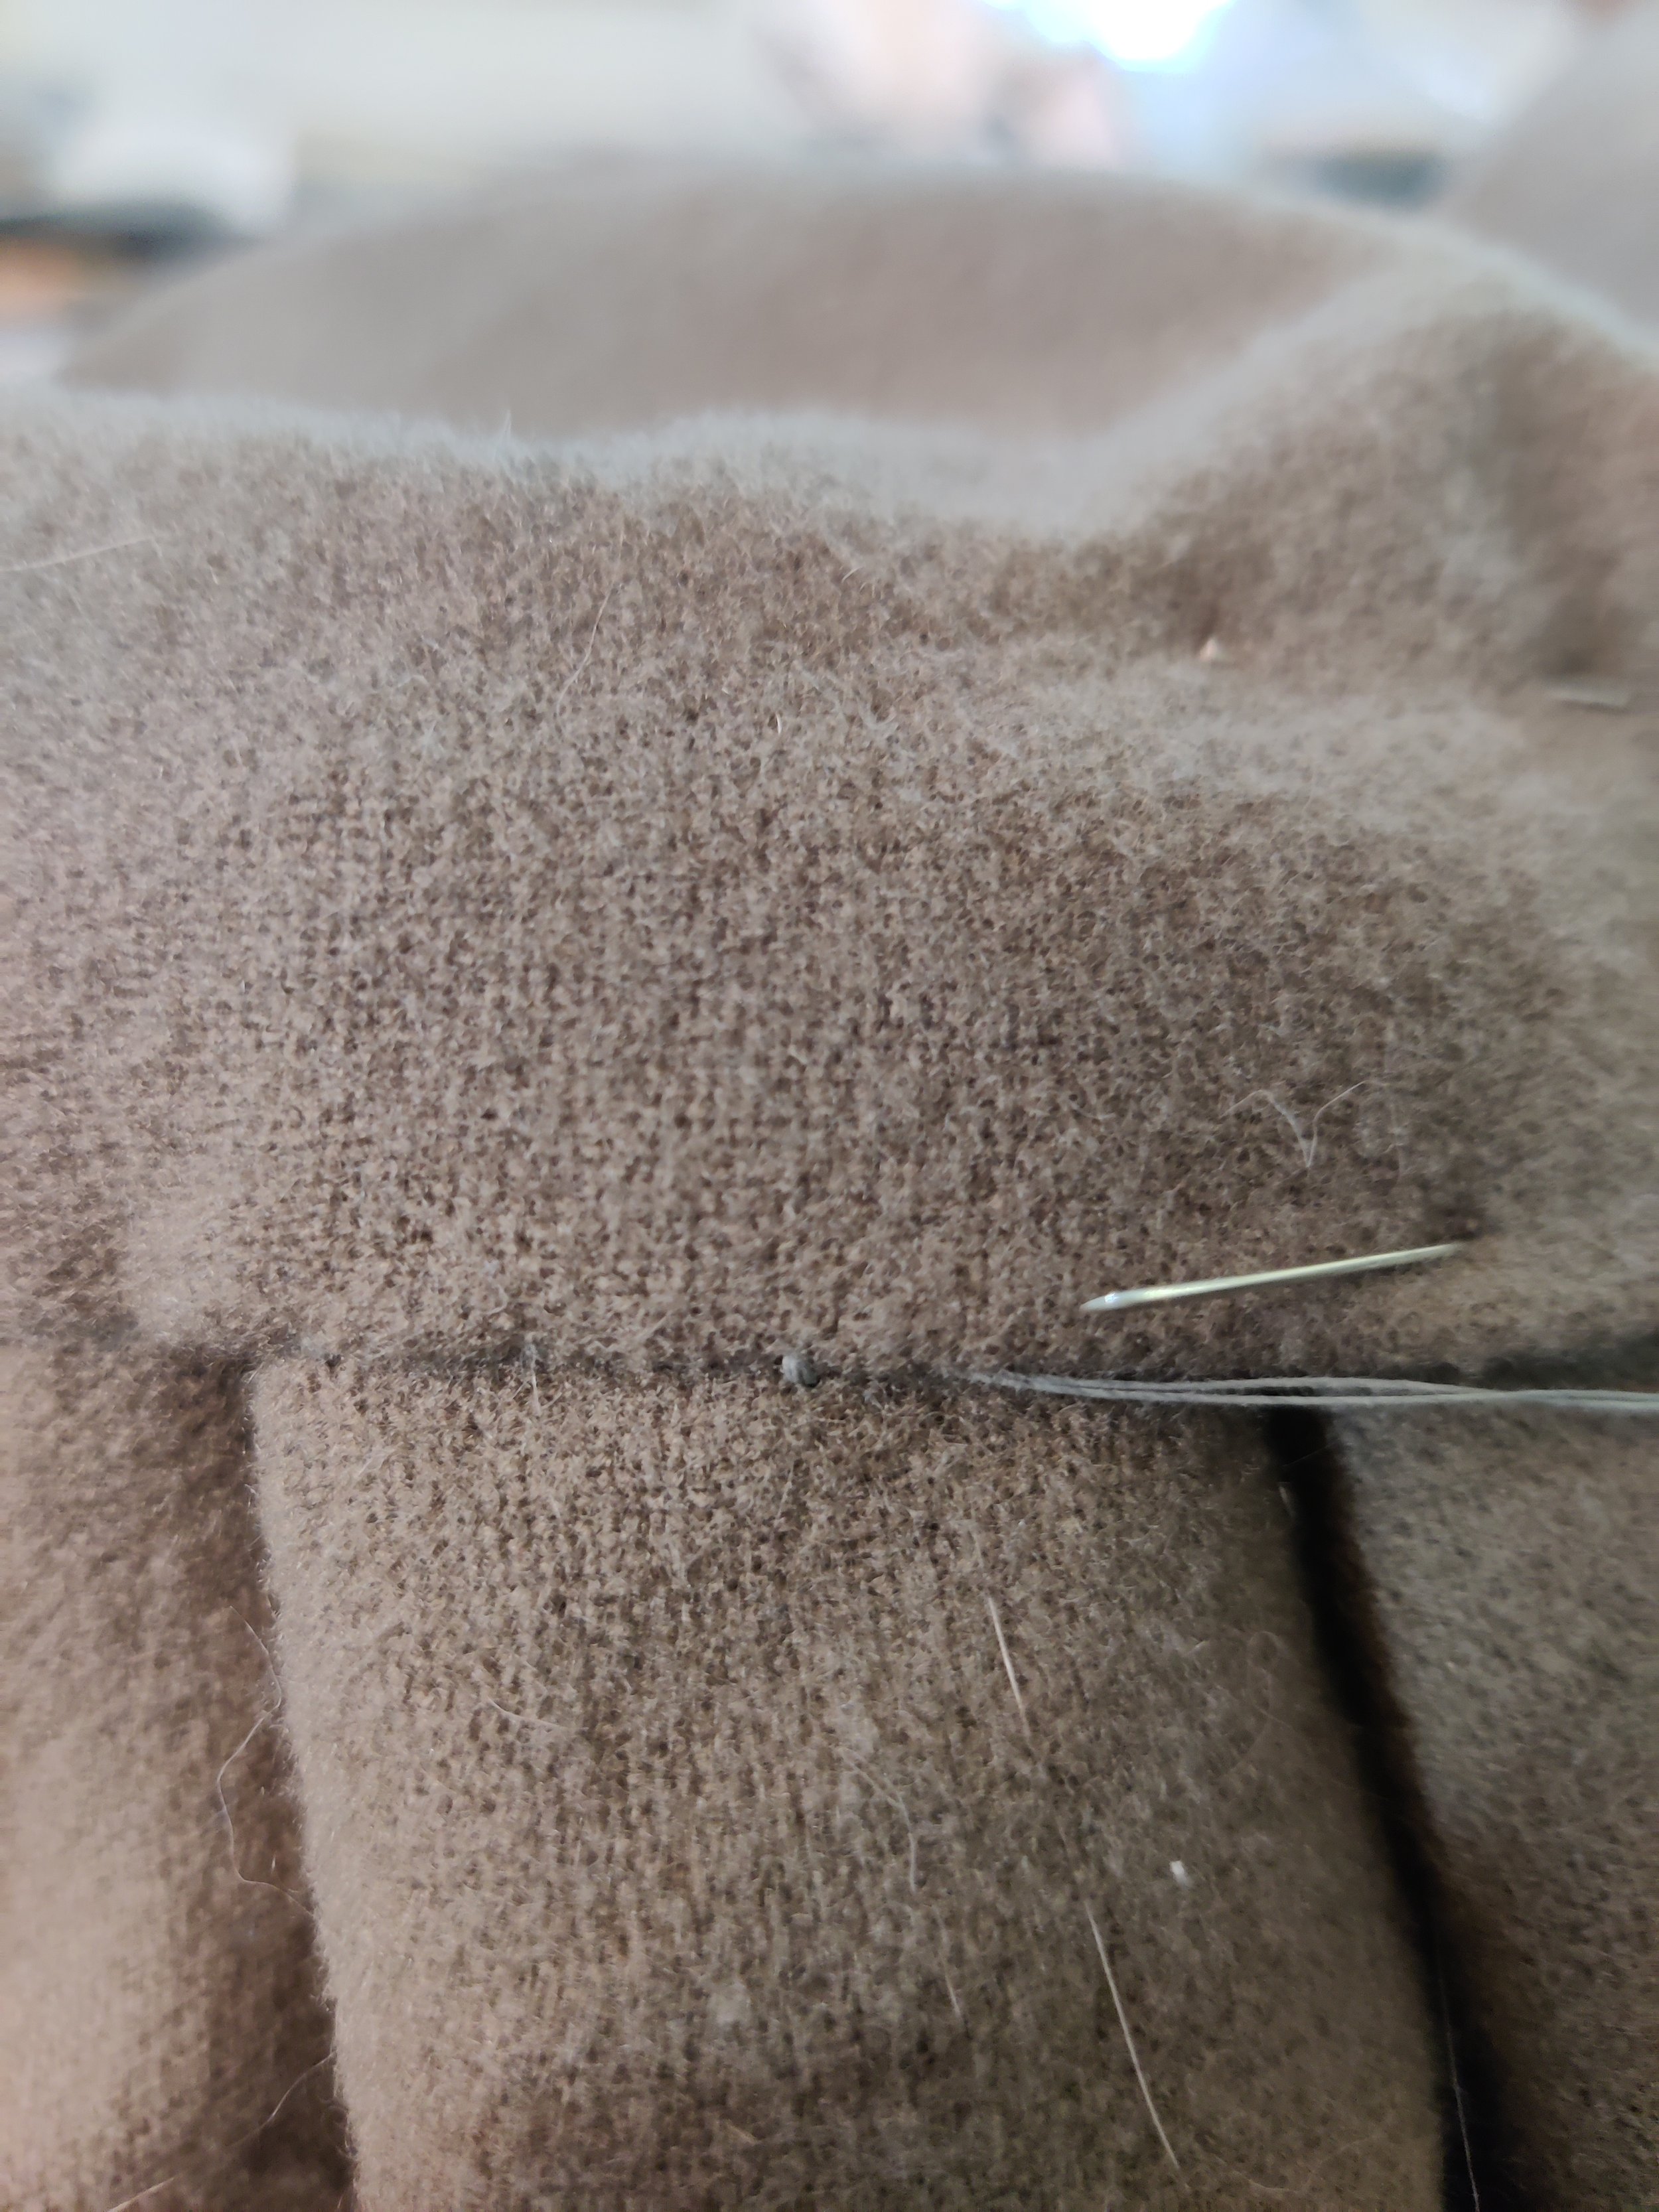
The next touch was to whip the lining fabric in place over the pleats. This was relatively easy on the blue lining. On the gray side, it took a little more finesse. What I ultimately settled on was the following:
Picture 1. Begin by taking a small stitch from underneath the bodice fabric.
Picture 2. Then take a second small stitch, going up through the pleat fabric and up through the same point in the bodice fabric.
Picture 3. Take the needle behind the stitch from Step 2 from the left to the right.
Picture 4. Pull the thread through.
The final product on a hanger.
When all is said and done, I'm still pleased with how this turned out. It's a sturdy garment, excellent for its intended purpose of everyday wear, and will likely be a piece I use quite regularly, especially when it's colder months. It's definitely heavier than the tan saya, due to the fullness of the wool. I also really love how the neckline turned out. It's a fun touch, and I may honestly steal the idea of different colored lining peeking out for a re-do of this, just in a different color. I don't think I'll be doing those back slits again though... And now all that's left is that I really need to find some good gold cuffs to use with it.


